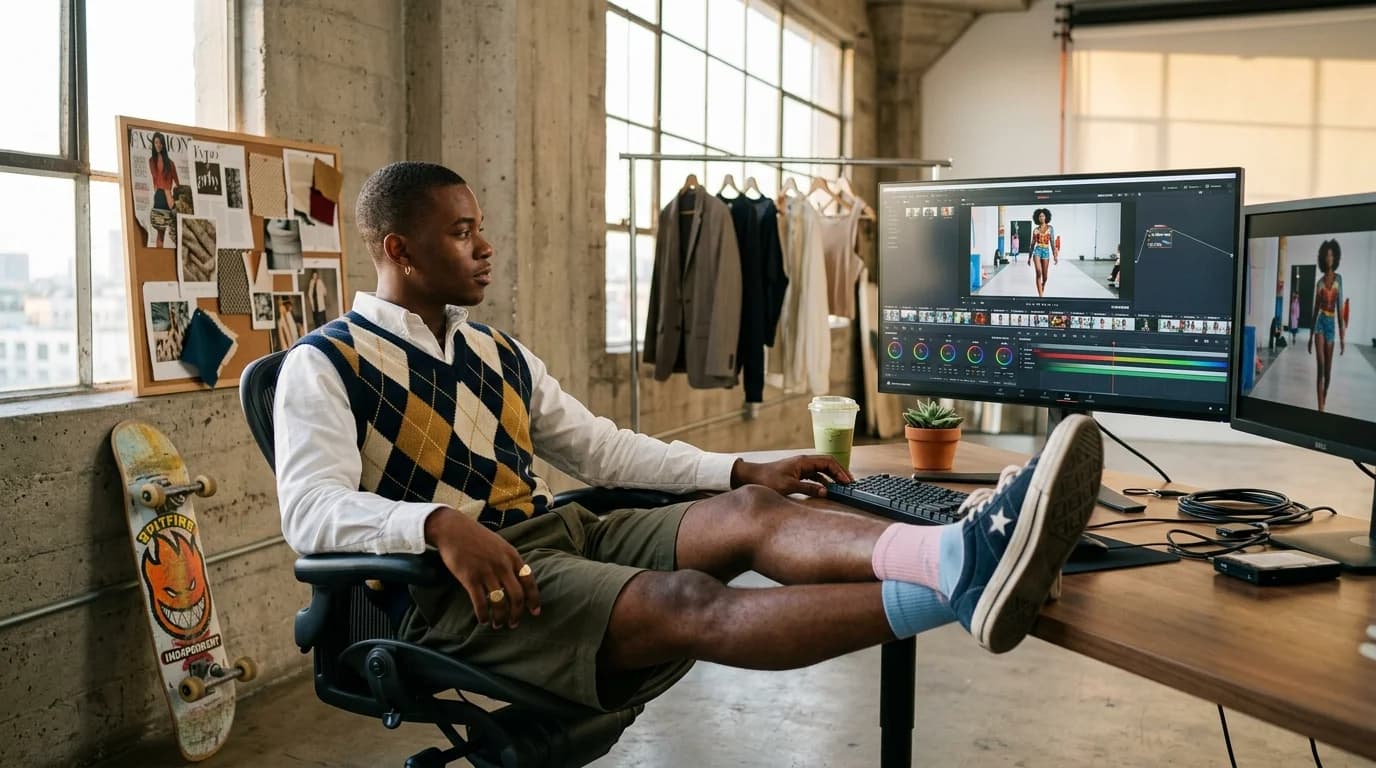
Raw AI-generated fashion clips are ingredients, not meals. Every clip needs post-production work before it belongs in a finished video. Color grade to match clips that were generated independently. Cut the last 2 seconds where the generation drifts. Build transitions between clips that were never designed to sit next to each other. Add music that gives the sequence rhythm and cohesion.
What follows covers AI fashion video post-production: what to do after generation and before publishing. It assumes you've already storyboarded your shots and generated clips with the principles from our guides on camera movement, fabric behavior, and model direction.
Step 1: Clip selection and trimming
For every usable clip, you generated 3-5 attempts. Pick the best one from each set and trim it.
Selection criteria: Consistent lighting throughout the clip. No visible artifacts: hand distortion, fabric teleporting, face morphing. Fabric behavior appropriate to the material. Camera movement at the intended speed.
Trimming: Cut the first and last half-second of every clip. AI video models tend to wobble in the opening frames as the generation settles, and they lose coherence toward the end. Trimming those edges gives you the cleanest section of each generation.
If a clip holds up for 4 seconds but drifts in the last 2, use only those 4. You prompted for 6 seconds; the model gave you 4 good ones. Use what works. Drop what doesn't.
Step 2: Color grading
AI clips generated independently will land at slightly different color temperatures, even with identical lighting prompts. Some run warmer. Some cooler. Some overexpose slightly. These differences barely register in isolation but become obvious the moment clips sit next to each other in a sequence.
Apply a base grade to every clip. Use the same LUT or color correction settings across all clips in the project. This normalizes the starting point.
Match to the anchor. Pick your strongest clip, usually the first one you generated, the anchor from your lookbook video workflow. Grade every other clip to match its color temperature, exposure, and contrast.
Watch the skin tones. AI sometimes shifts skin tone between clips. If the model reads warmer in clip 1 and cooler in clip 3, bring them into alignment. Skin tone drift between clips gives away AI-generated content faster than almost anything else.
Tools: DaVinci Resolve (free, industry-standard for color). Premiere Pro (capable, familiar). CapCut Pro (good enough for social content). For single-clip social posts, the built-in color tools in CapCut or InShot work fine.
Step 3: Cutting and pacing
Cut to the garment, not to a formula. Each clip should stay on screen long enough for the viewer to read the garment it shows. Not a frame longer.
For lookbook-style content: Give each garment 7-10 seconds total across 2-3 clips (wide + detail). That's enough time to register the silhouette, appreciate the fabric, and catch one construction detail.
For social content: Faster. 2-4 seconds per clip. The viewer will scroll past. The first frame has to stop them. Every subsequent frame has to hold them. If a shot doesn't earn its screen time, cut it.
For runway-style content: Slower, more deliberate. 4-6 seconds per clip, matched to real runway pacing. Let each look breathe.
Cut on movement. End a clip when the camera or model reaches a natural stopping point. End an orbit when it completes its arc. End a push-in when it reaches the detail. A cut mid-movement creates a jarring break that draws attention to the edit itself.
Step 4: Transitions
Hard cuts work for almost everything. A clean cut from one clip to the next reads as professional. Real fashion video uses hard cuts most of the time. Don't overthink this.
Fade to black between garments. A brief 0.5-1 second fade to black, then back in, creates a clean separation between different looks. Good for lookbook sequences where each garment gets its own beat.
Cross-dissolve for same-garment transitions. When you cut from a wide shot to a detail shot of the same garment, a brief cross-dissolve (0.3-0.5 seconds) reads as a perspective shift rather than a scene change.
Avoid: Star wipes, page turns, zoom transitions, glitch effects, and anything that calls attention to itself. Clothes first. Editing invisible.
Step 5: Music and sound design
Music sets the pacing. A track with a strong beat gives you cut points. A track with ambient texture lets you cut where the garment dictates. Choose the music before you start editing, then cut to it.
Fashion video music tends toward a few modes: minimal electronic (clean, rhythmic, modern), ambient/atmospheric (soft, textured, moody), or editorial (curated tracks with cultural references). Match the music to the collection's tone. A structured tailoring lookbook calls for something different from a silk charmeuse eveningwear collection.
Sound design fills the gaps. Subtle foley — fabric rustling, footsteps, studio ambience — makes the video feel like it happened in a real room. This matters more for AI-generated content because the visuals alone carry no physical weight.
Default to minimal. Quiet, rhythmic, unobtrusive. If you notice the music more than the garments, turn it down or swap the track.
Step 6: Export and delivery
Export for every platform you need, from the same project.
Website / lookbook presentation: 16:9 horizontal. 1920x1080 minimum, 3840x2160 if your source material supports it. H.264 codec. 10-15 Mbps bitrate for web. 60-90 seconds total.
Instagram Reels / TikTok: 9:16 vertical. 1080x1920. Either reframe your horizontal clips or generate vertical clips separately. H.264. 5-15 seconds for single clips, 15-30 for multi-look sequences.
Instagram feed: 1:1 square or 4:5 vertical. Crop from your horizontal or vertical source. Keep to 15-30 seconds.
Email / embedded: GIF or MP4 autoplay. 720p maximum, optimized for file size. 10-15 seconds. No sound (autoplay will be muted). The visuals carry everything alone.
Common post-production mistakes
Skipping color grading. Raw AI clips placed next to each other look like they came from different cameras. Even a basic unified LUT closes that gap.
Over-editing. Fancy transitions, heavy color effects, split screens, text animations from all directions. Fashion video works best when the edit disappears. Let the clothes do the work.
No audio. Silent fashion video on a website or in a presentation feels unfinished. Even ambient music at low volume changes the entire experience. Add a track. Every time.
One export size. You need horizontal, vertical, and square. Export all three from the same timeline. Doing this after the fact takes 15 minutes. Regenerating for each platform takes hours.
FAQ
What software should I use to edit AI fashion video?
DaVinci Resolve (free) for professional work with strong color grading. Premiere Pro if you're already in the Adobe ecosystem. CapCut for social-first content. All three handle AI-generated clips without issues.
How do I fix color inconsistencies between AI clips?
Apply a base color grade across all clips, then match each clip to your strongest (anchor) clip. Adjust color temperature, exposure, and contrast until they align. Pay close attention to skin tones. They drift most visibly between generations.
What music works for fashion video?
Minimal electronic, ambient/atmospheric, or curated editorial tracks. Match the music to the collection's tone. Keep it quieter than the garments. If you notice the music more than the clothes, it's too loud.
How long should an edited AI fashion video be?
60-90 seconds for a lookbook website embed. 15-30 seconds for Reels and TikTok. 10-15 seconds for email embeds. Shorter almost always wins. Cut anything that doesn't help the viewer understand or appreciate the garments.